Scope
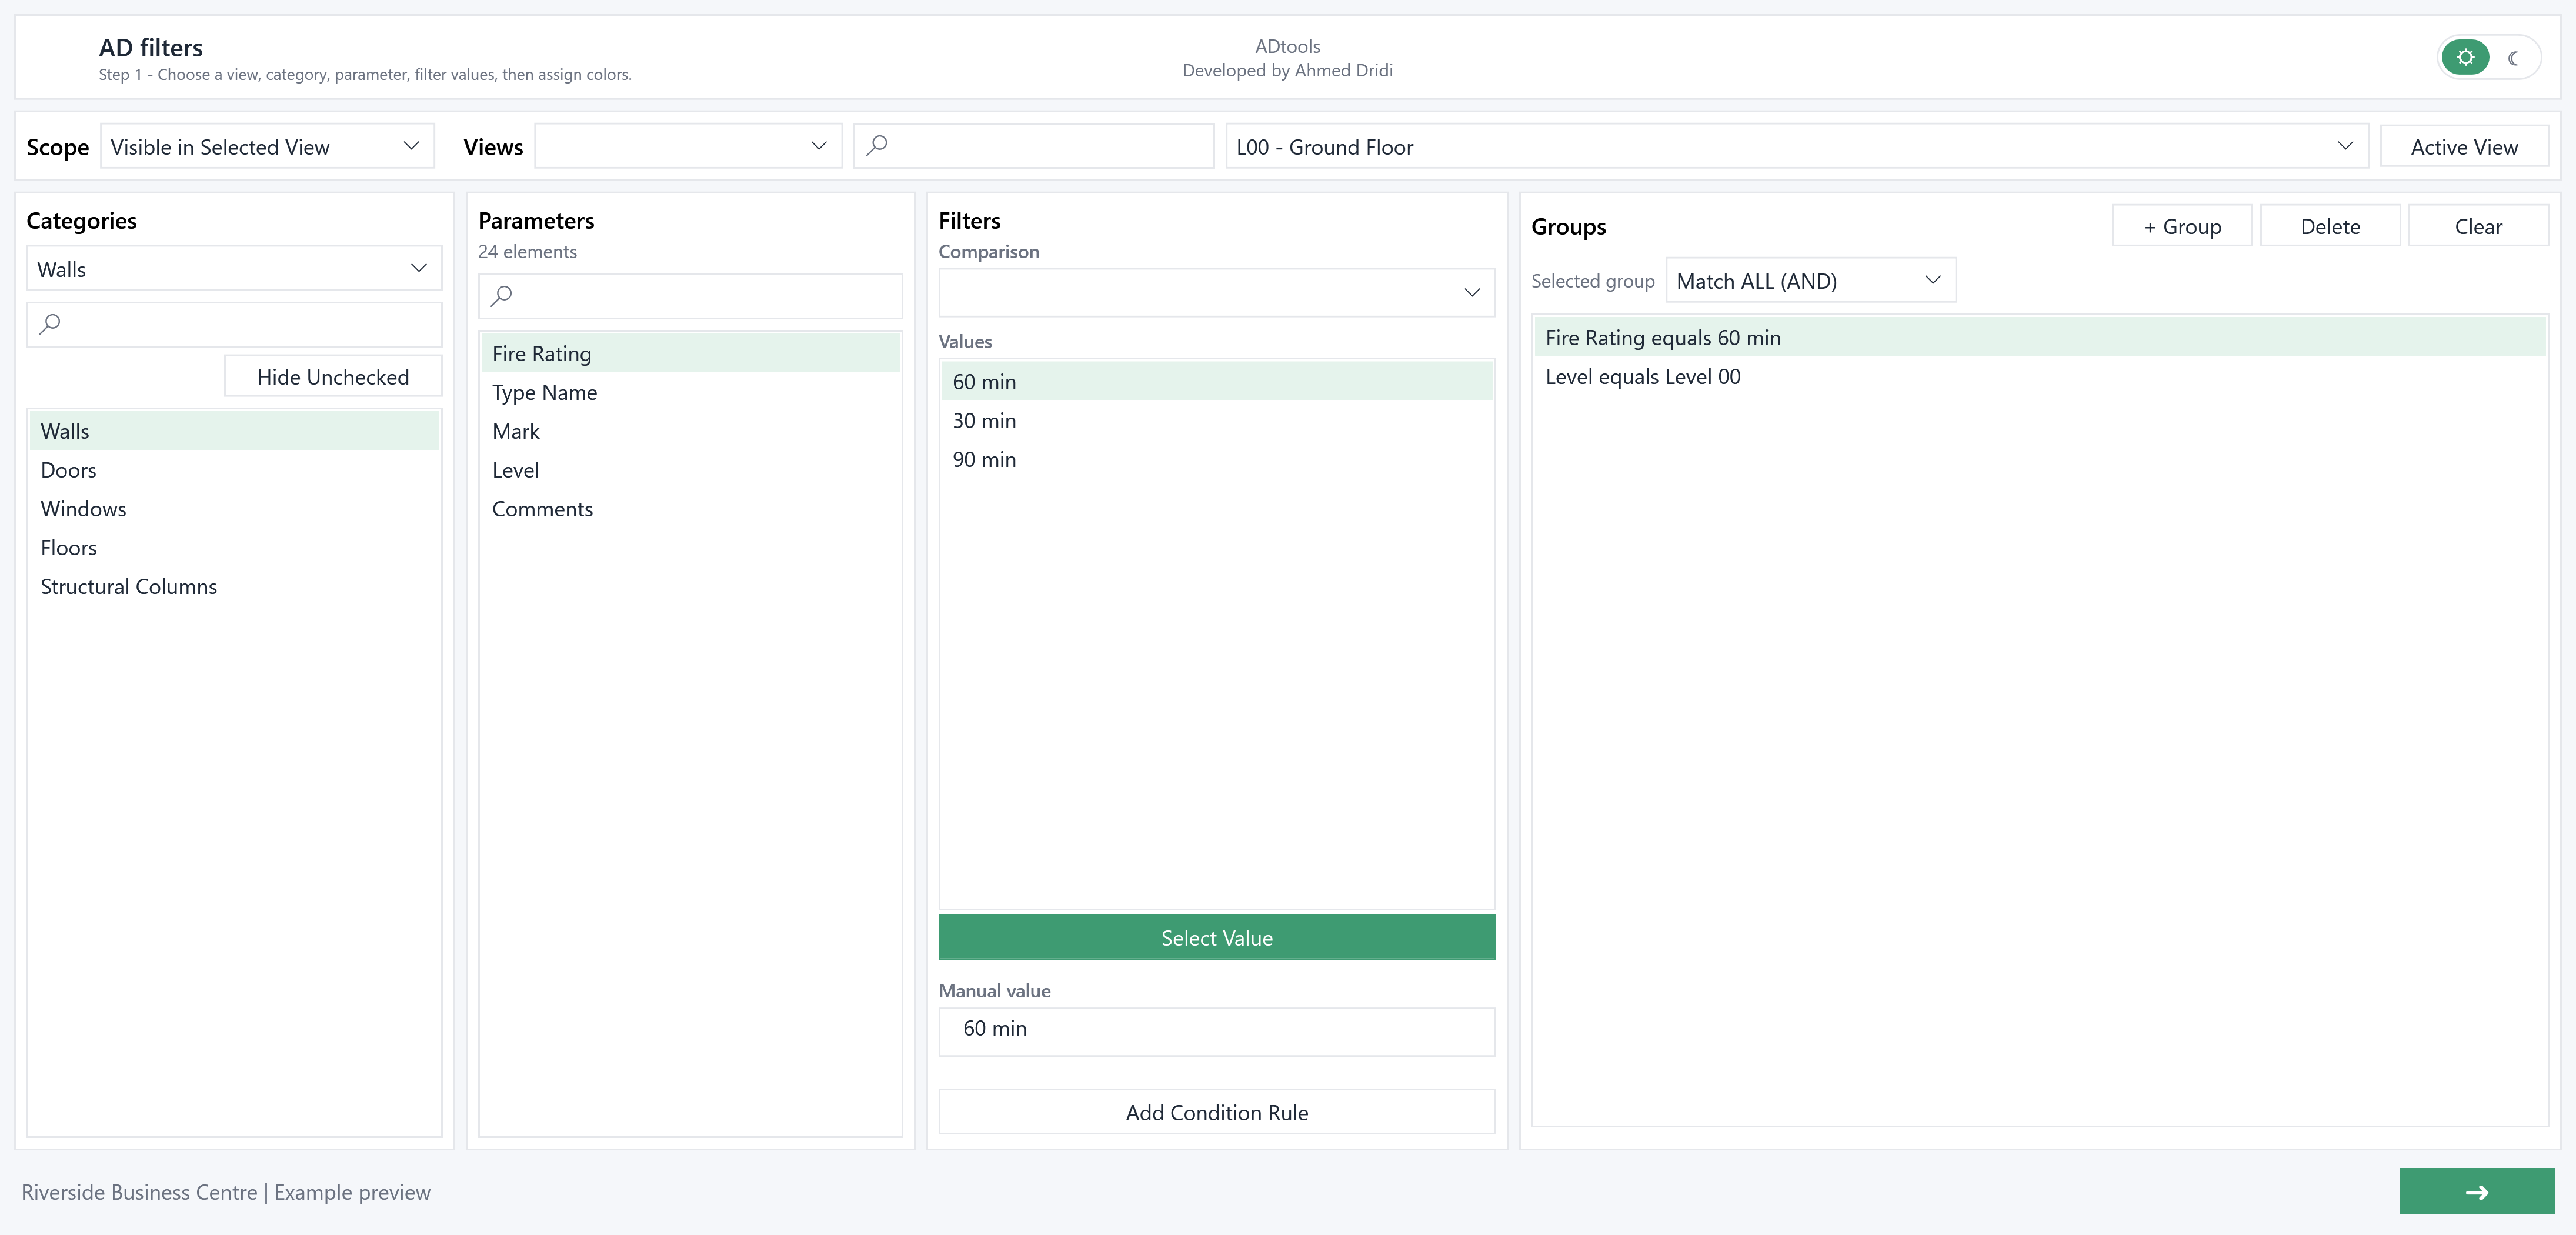
Work with elements visible in a view, placed in the model or loaded in the project, selecting model and annotation categories.

AD filters helps you read a model through its graphics. Define the categories and conditions that make up each group, then assign colours, patterns and graphic properties before applying them to a view.
Work with elements visible in a view, placed in the model or loaded in the project, selecting model and annotation categories.
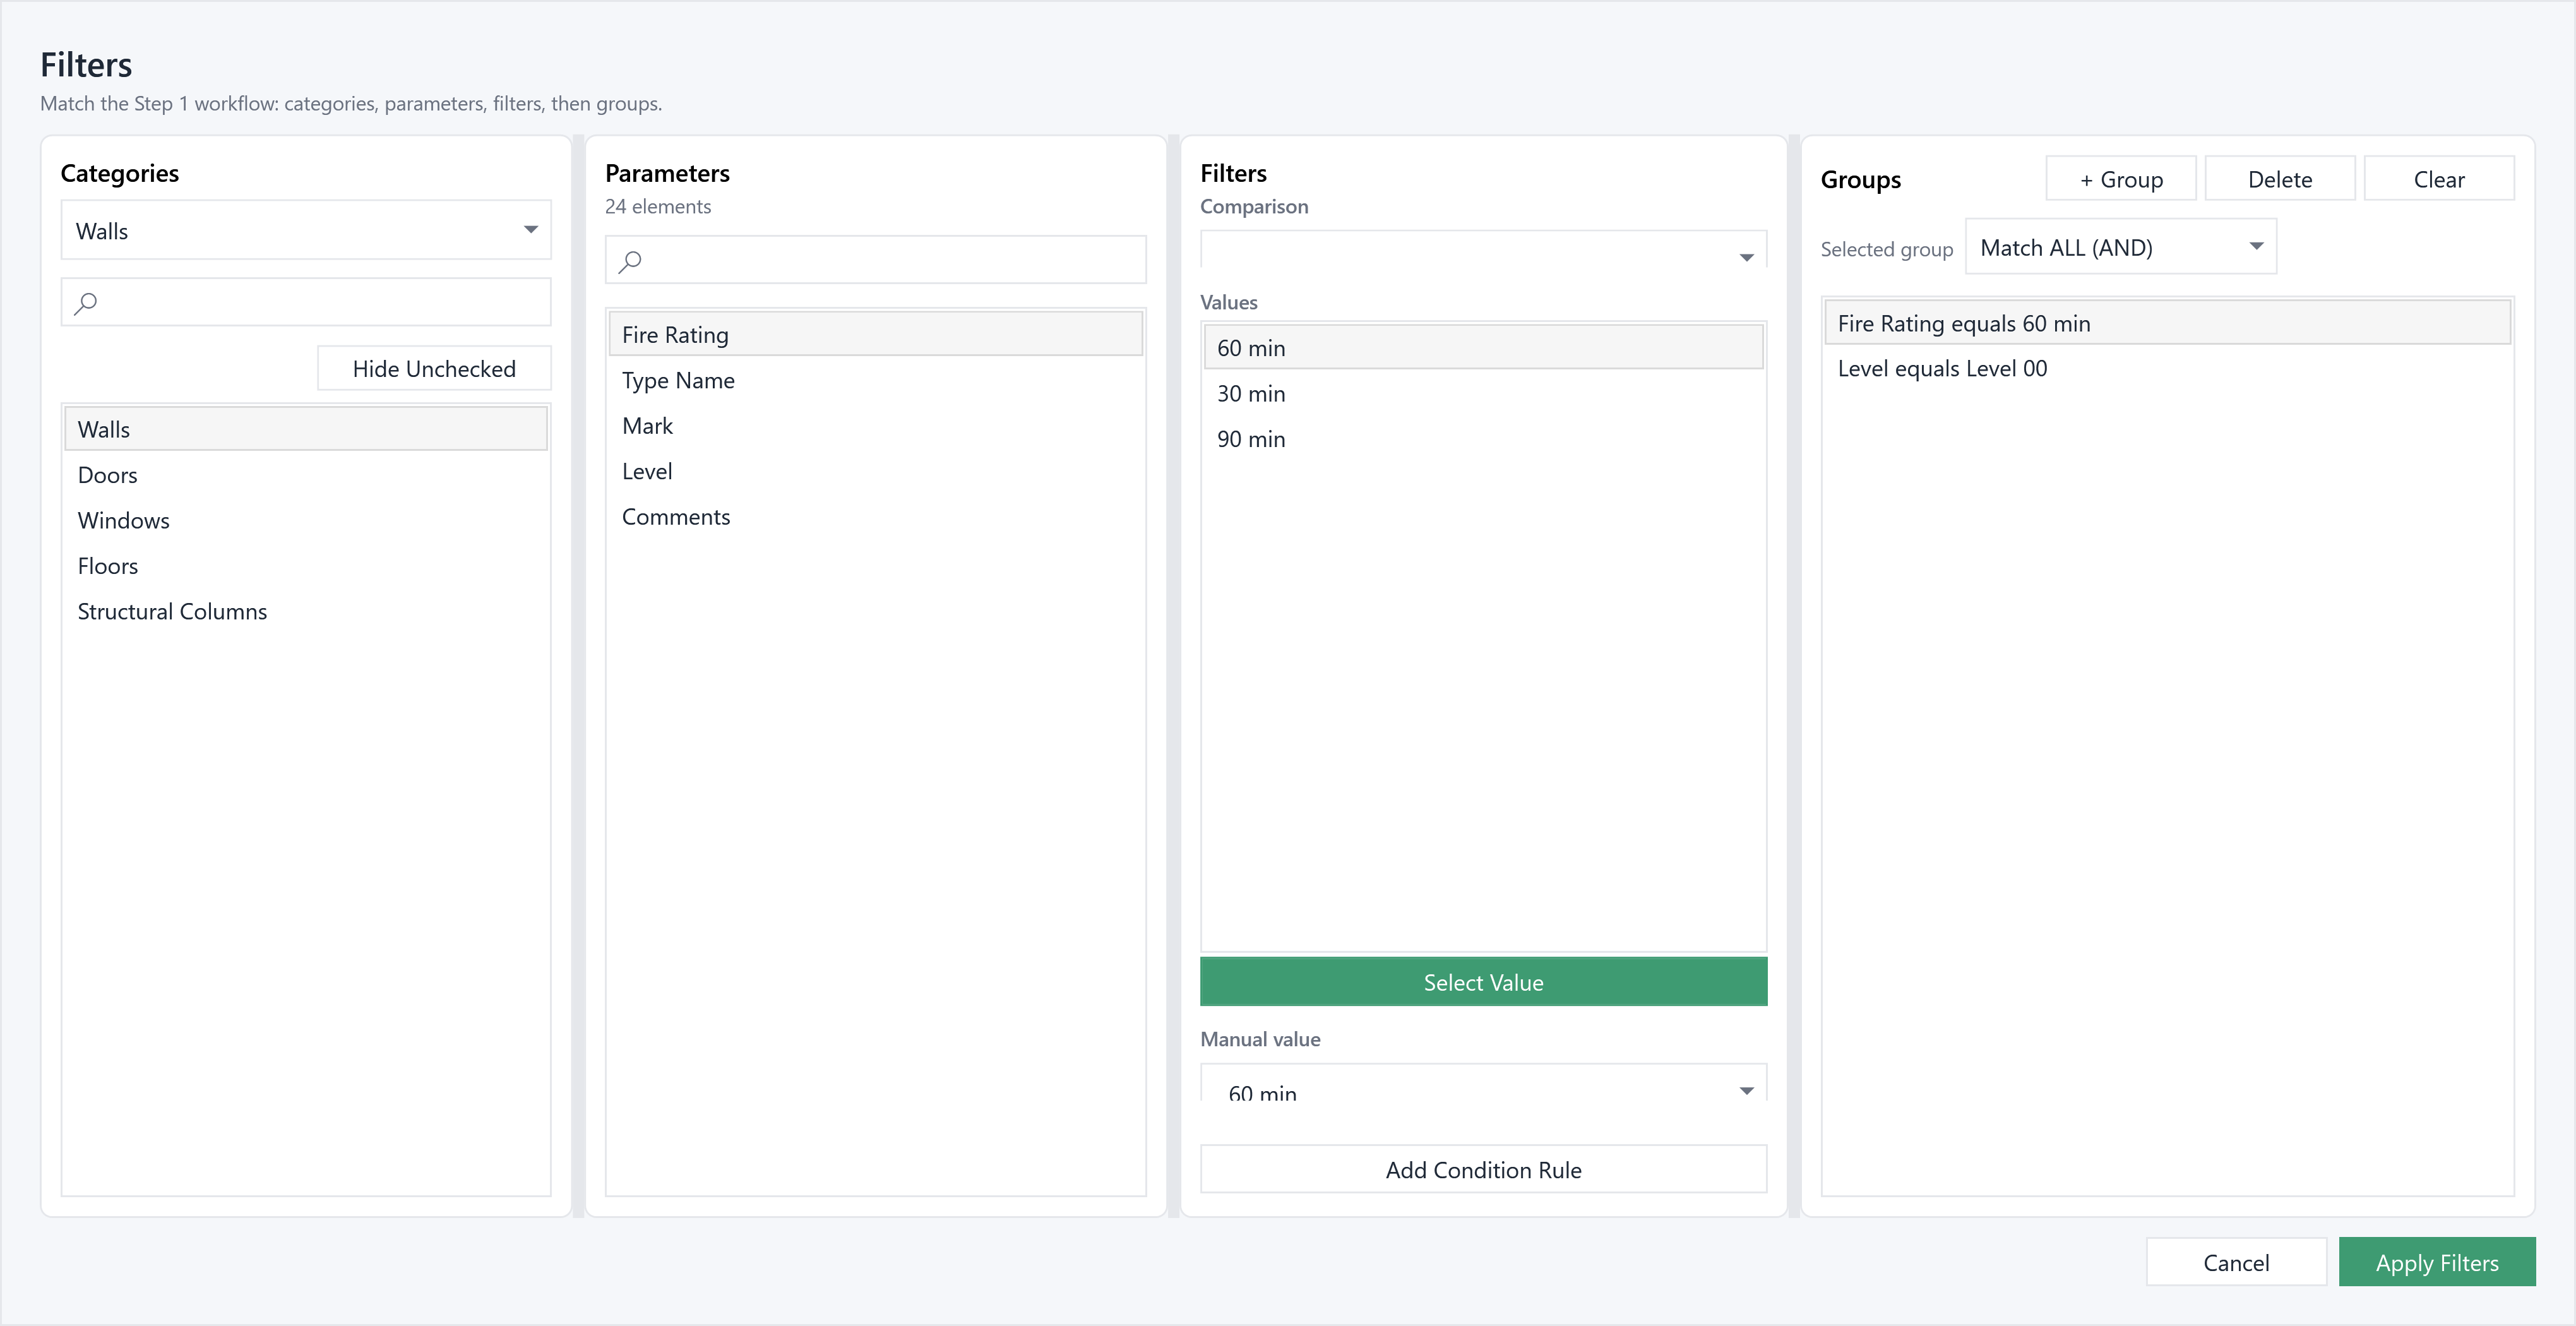
Conditions on parameters and values, Match ALL / AND or Match ANY / OR groups, and manual value selection.
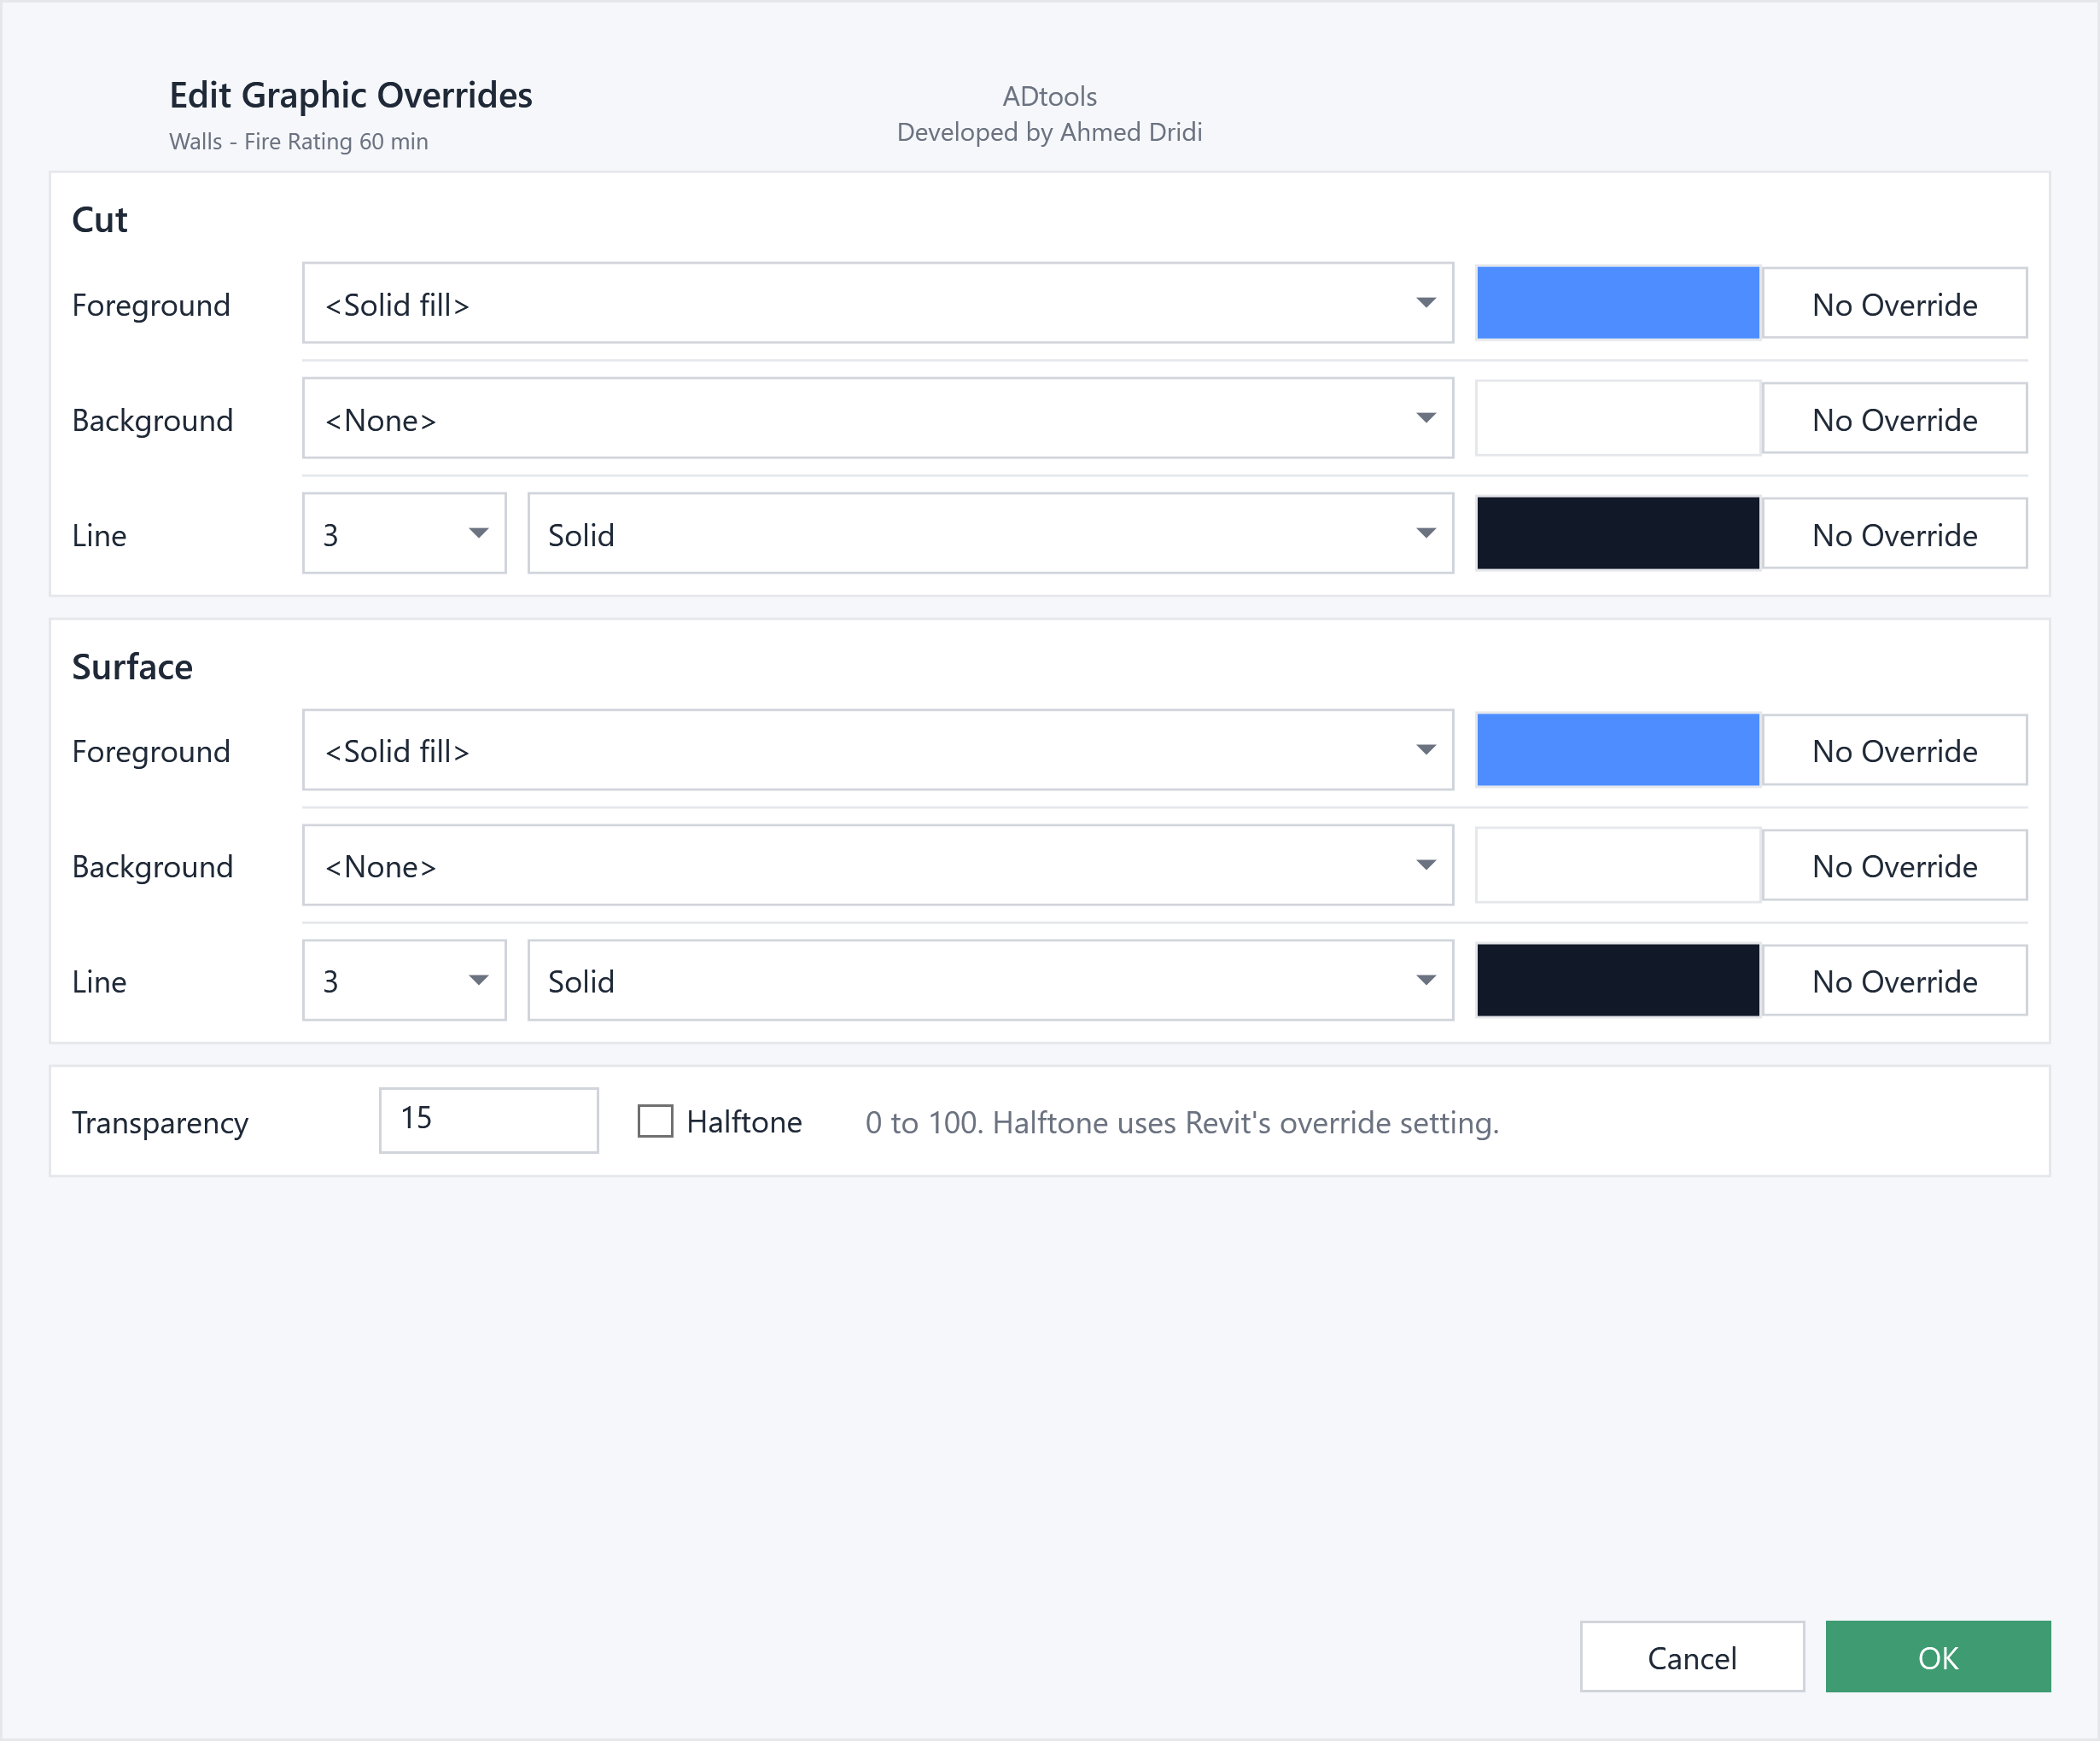
Cut and surface colours and patterns, line weights and patterns, transparency and halftone, with a preview for each row.
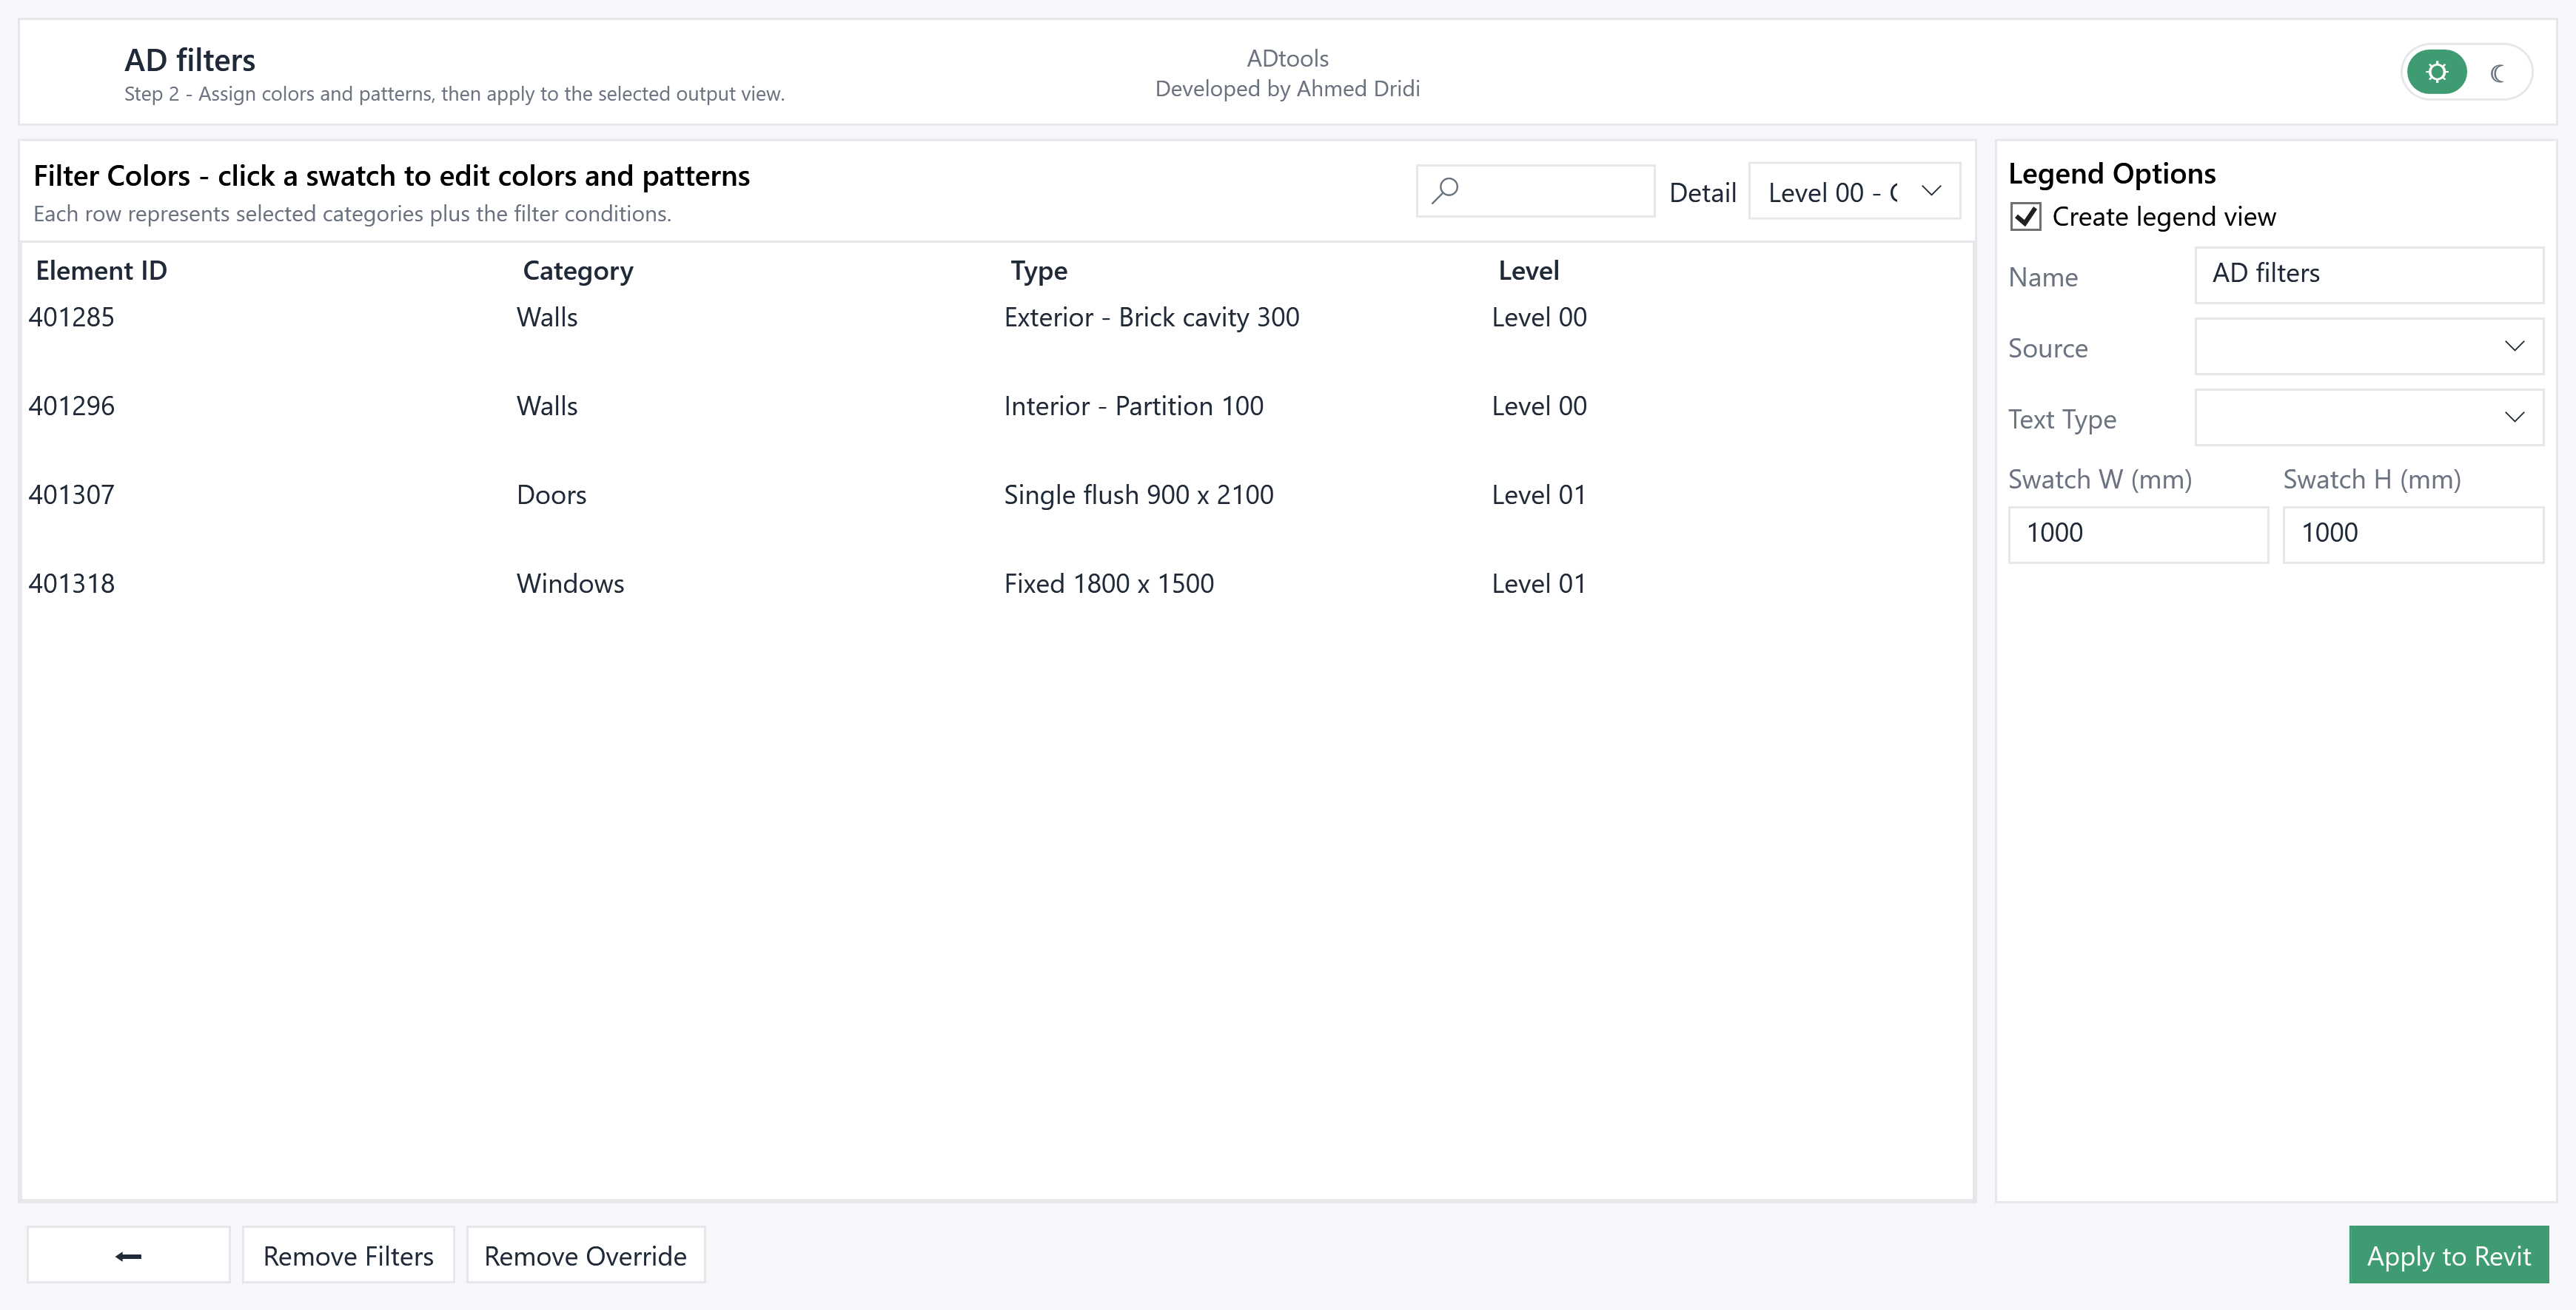
Apply through view filters or graphic overrides, use the selected view or create a new one, save profiles and generate a legend.
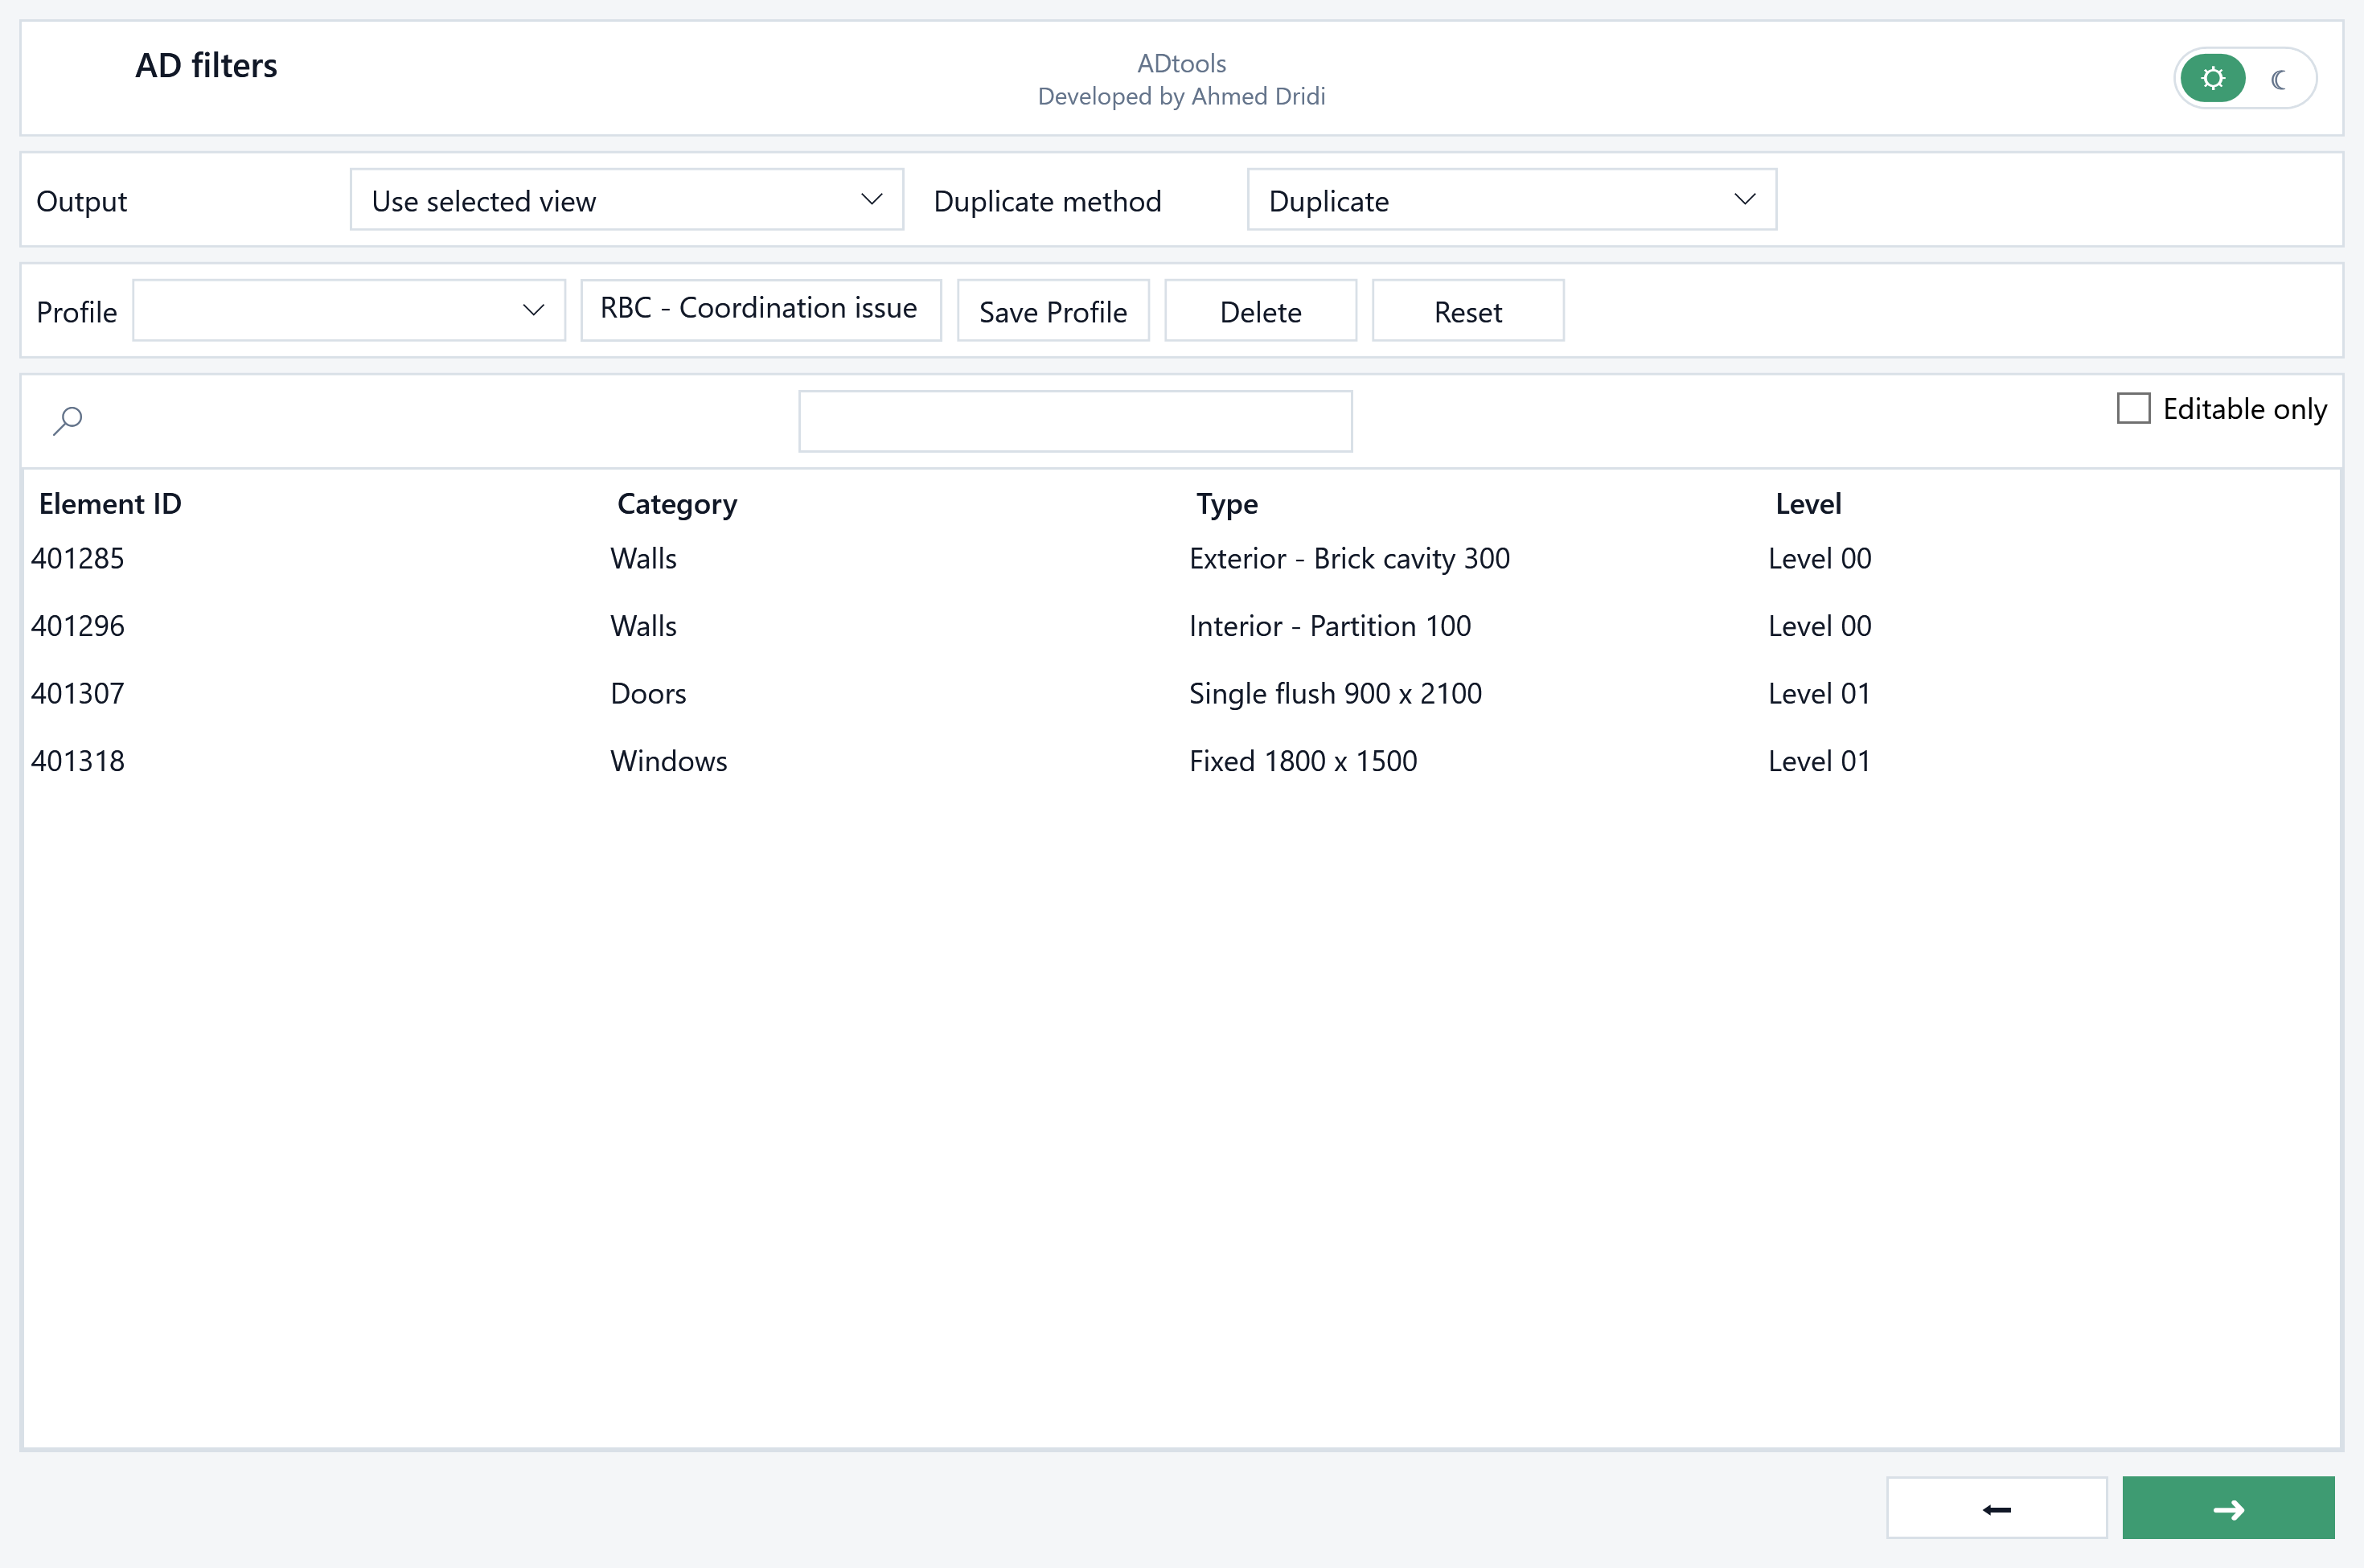
Select the scope, categories and parameters. Combine conditions with AND / OR logic or choose values to represent, then define the output view.
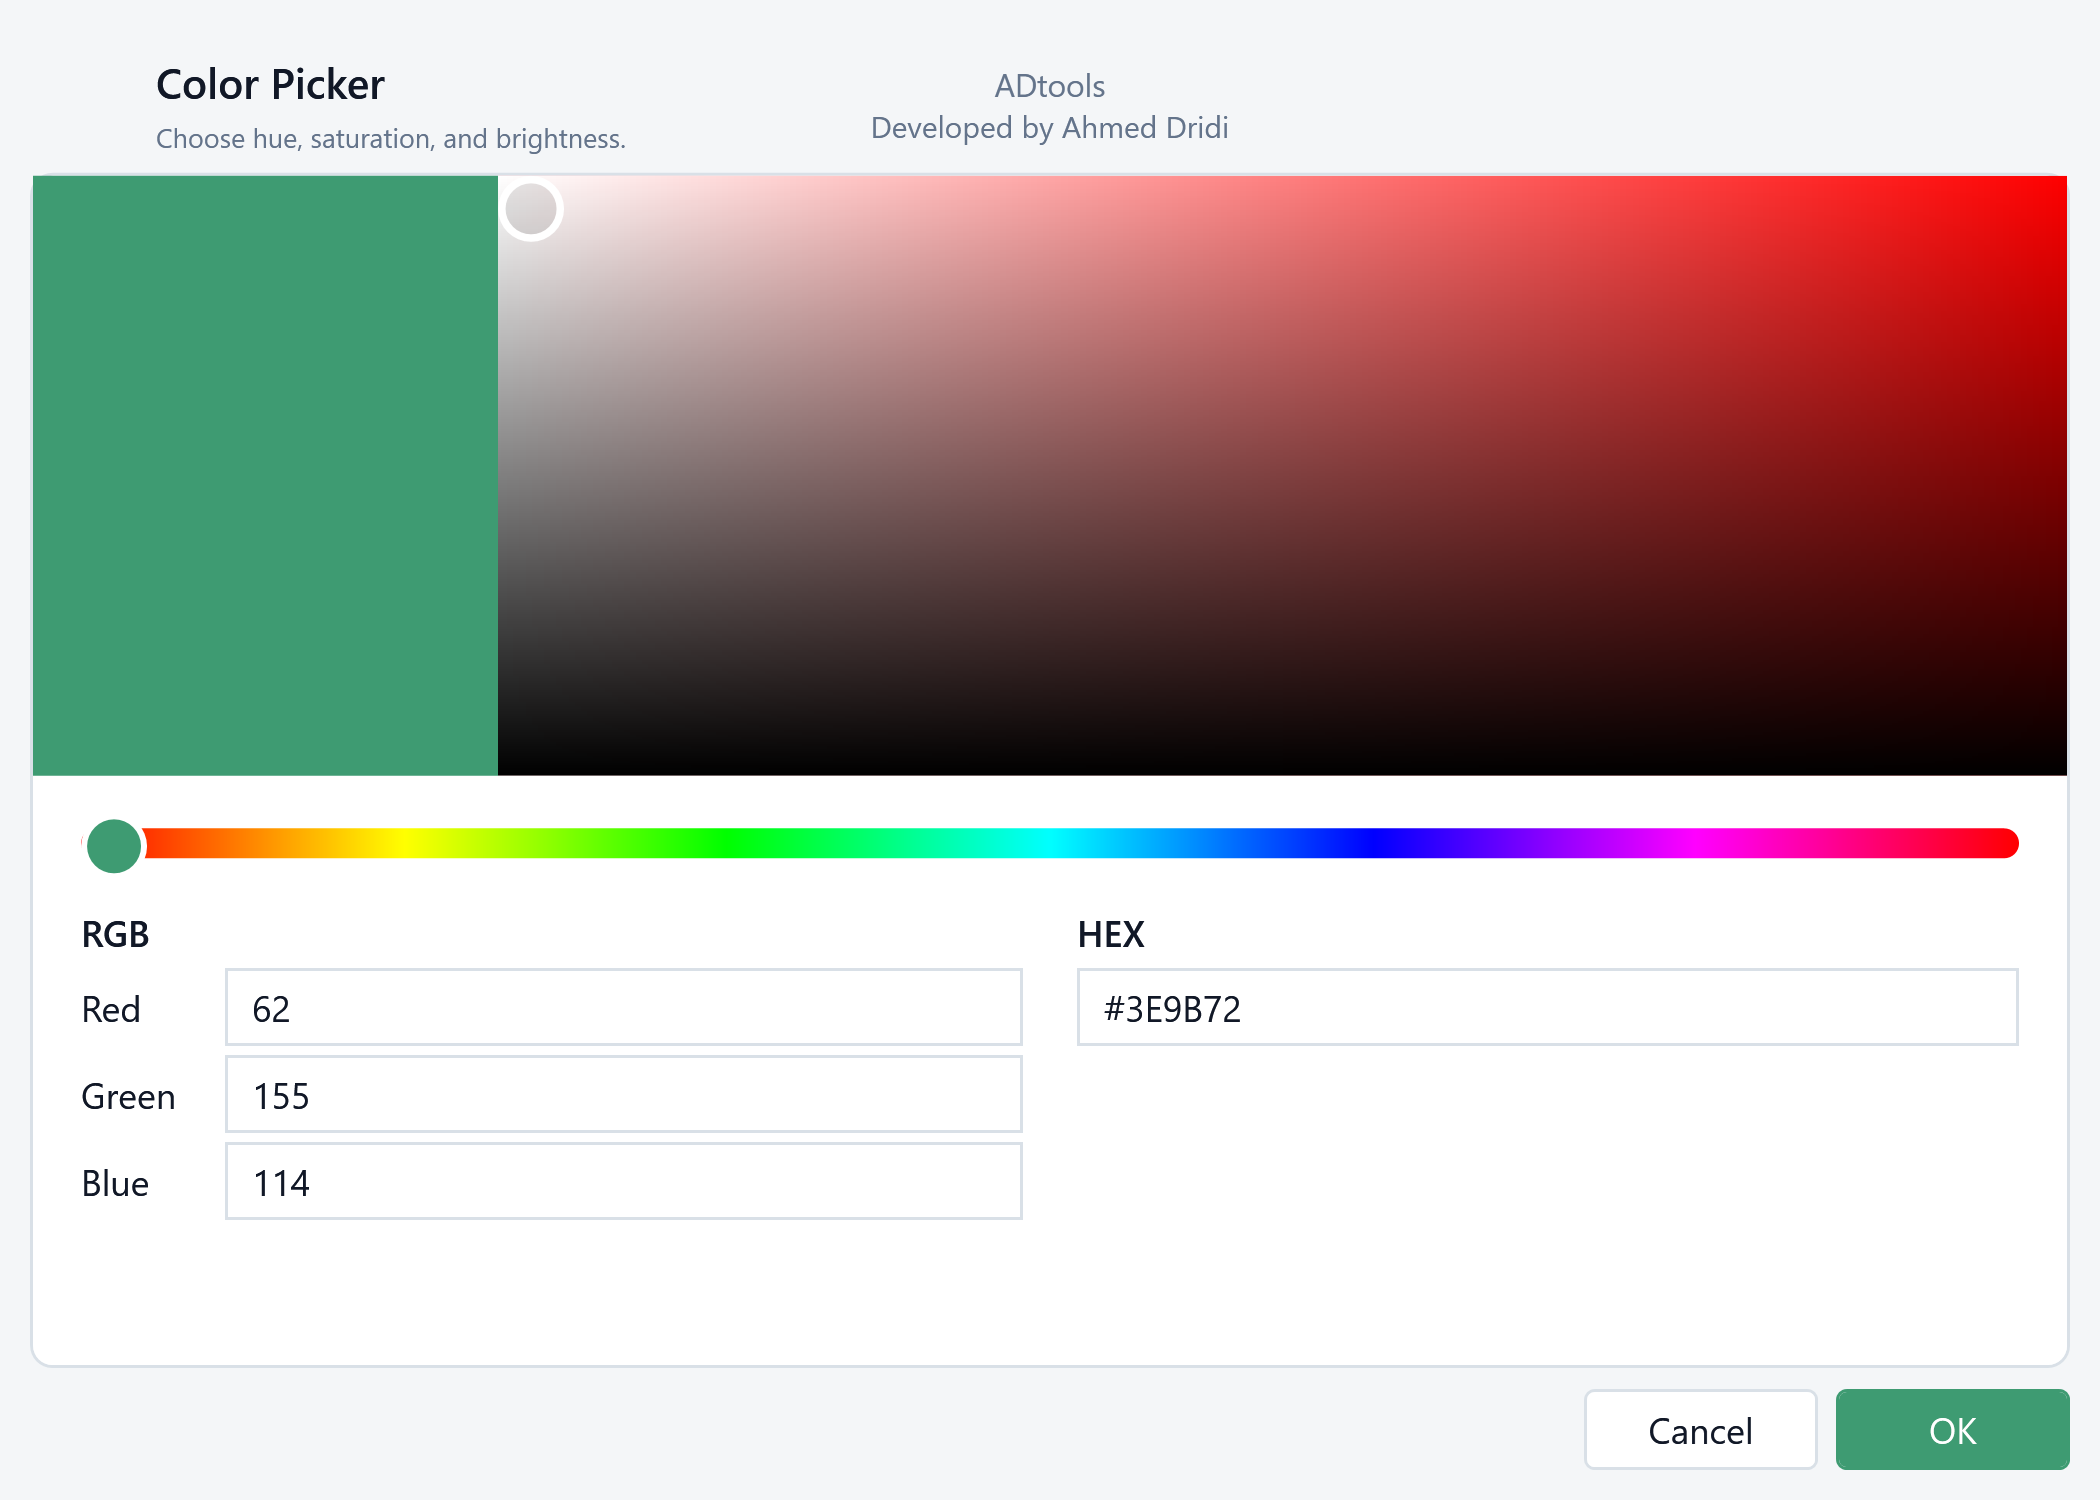
For each group, control cut and surface colours and patterns, lines, transparency and halftone. Graphic properties can be copied between rows.
Apply settings to Revit using the chosen method. Prepare a legend with a name, text type and sample dimensions; removal commands let you remove filters or graphic overrides.
To review model walls, group them by a type parameter, assign a colour to each value and prepare a review view with a legend.
In the modelProject walls and doors, using the Fire Rating parameter.
In the extensionCreate a Fire Rating = 60 min group and set its colour, patterns and transparency.
Check the resultPrepare a review view and legend to identify the group’s elements.
Illustrative example: the windows are populated with a fictional English-language Revit project, “Riverside Business Centre”.