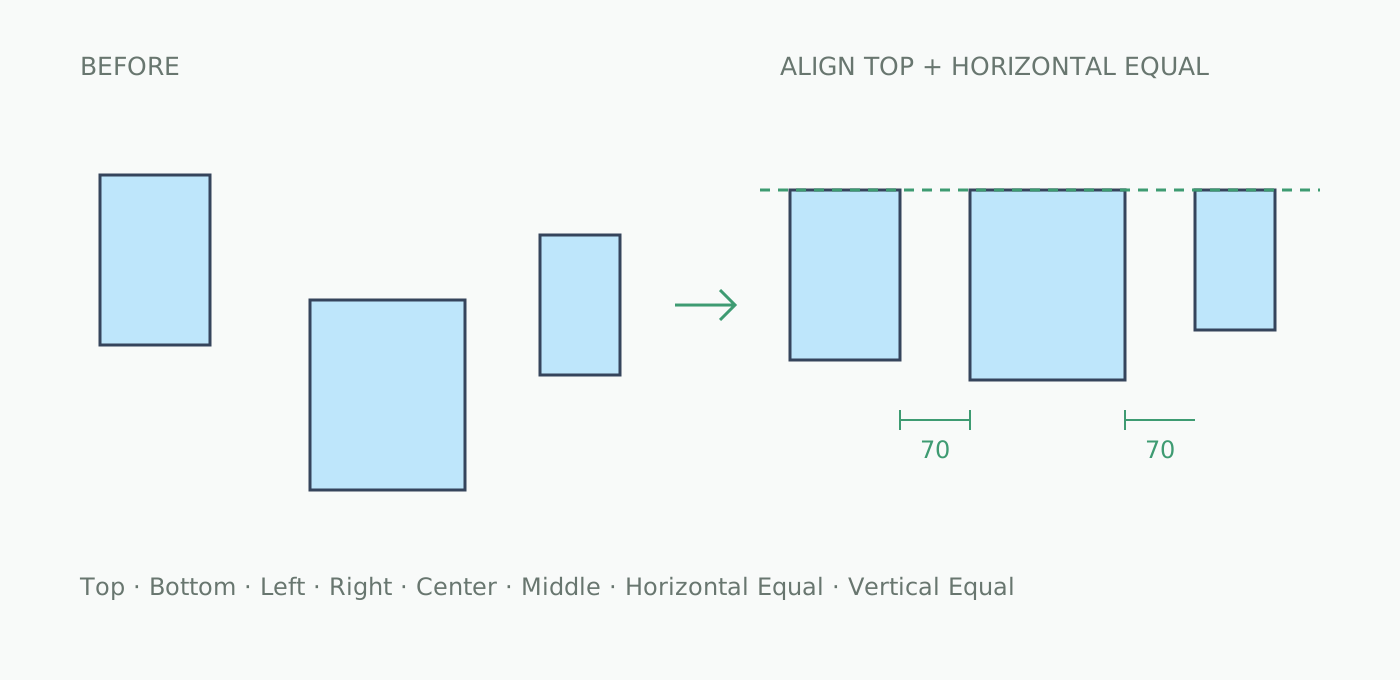
Arrange annotations with consistent edges and spacing.
UTILITIES

Align
WHAT THE TOOL DOES
Align and distribute selected elements using the active view’s axes. Eight direct commands help arrange drawings and annotations with equal edge-to-edge spacing.
A CONCRETE USE CASE
A need. A clear workflow.
Align elements or distribute edge-to-edge gaps in the active view.
TRY ITInteractive example · fictional data
This browser illustration explains the tool’s principle. Model actions take place in Revit.
KEY FEATURES
Eight direct commands
Top, Bottom, Left, Right, Center and Middle align elements. Horizontal Equal and Vertical Equal distribute the gaps between their edges.
Follow the active view
Calculations follow the view’s right and up axes. Center and Middle use the centre of the combined selection bounds.
Select, then run
Select at least two elements to align or three to distribute. With no selection, Revit asks you to pick elements. No additional settings window.
Diagnostics when needed
Pinned elements, individual group members and elements without safe bounds are skipped. A report provides IDs, search, copy and selection in Revit for unsuccessful operations.
IN PRACTICE
Select
Select several annotations or elements in the active view.
Align or distribute
Open ADtools → Utilities → Align and choose one of the eight commands.
Review
Successful moves form one undoable operation. Inspect the report if some elements cannot move.
Alignment requires two usable elements; distribution requires three. Revit constraints still apply. Align does not unpin or ungroup objects.
Align. Distribute.
Fictional example: align edges, then equalise the gaps.